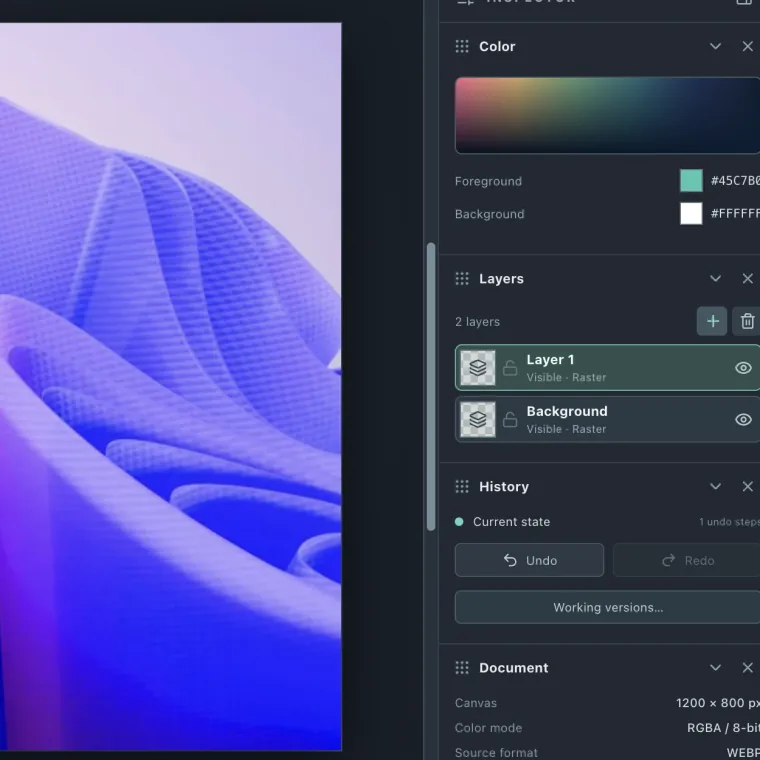
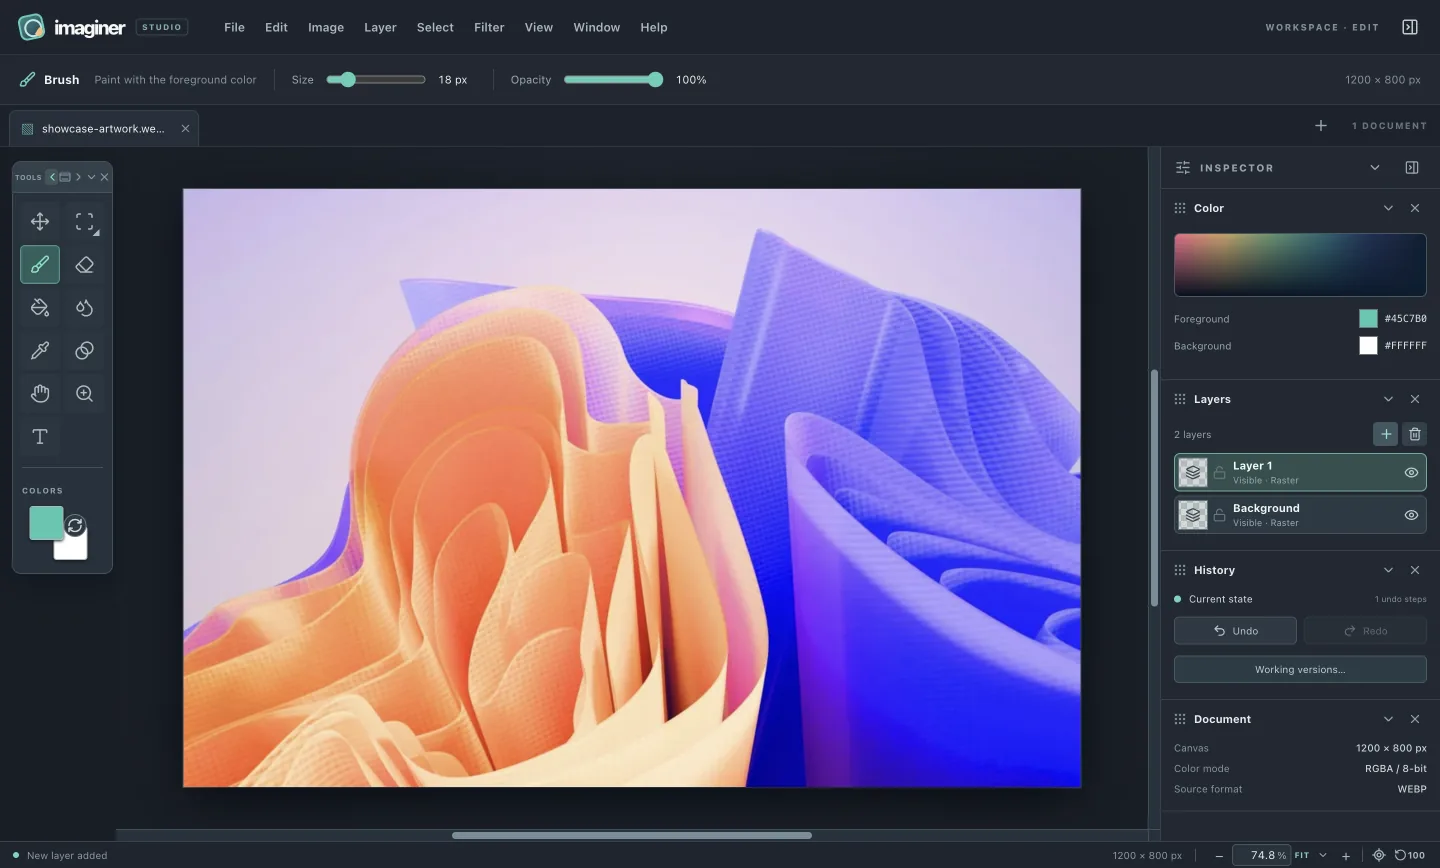
The plus in Layers or Image → New layer adds a transparent raster layer above the selected one. Generated names use increasing document-local numbers. Double-click a layer name to rename it; a long name is shortened visually and shown in full on hover.
The lock sits between the layer preview and its name.ACTUAL APP CAPTURE
Right-click a layer for Blending, Select opaque pixels, Duplicate layer, Duplicate Into…, Create/Release clipping mask, Select clipping base, Use/Release alpha mask, Merge down, Flatten and Rename. Duplicate Into… requires another open document of the same canvas size. Merge down combines the selected raster and raster layers below it, leaving object layers and layers above in place; it refuses settings that would be silently discarded. Flatten creates one locked Background from the visible composite.
Image → New layer / Delete active layer
Layer → Blending… / Duplicate / Merge down / Flatten
Use the blending guide for 27 modes, ten effects and Preview. The transform guide shows how to reshape a layer or selected patch.
Selection and lock are separate.
Select opaque pixels selects alpha at 51% or higher. Command-click a layer preview on Mac, or Ctrl-click on Windows/Linux, to do this without changing the active layer. The lock prevents edits. Choosing a layer or changing a selection does not add an undo step.
Shapes adds editable geometric object layers with fill, stroke and vector transforms. Use Layer → Rasterize before pixel tools; working versions keep their geometry during the session.
LAYER / CLIPPING
Clip color to a named base.
A lower layer supplies the shape; the layer above supplies the color or texture. Clipping follows the base’s continuous transparency, including soft painted edges and antialiased text. Source pixels stay intact, so releasing clipping reveals the entire upper layer again.
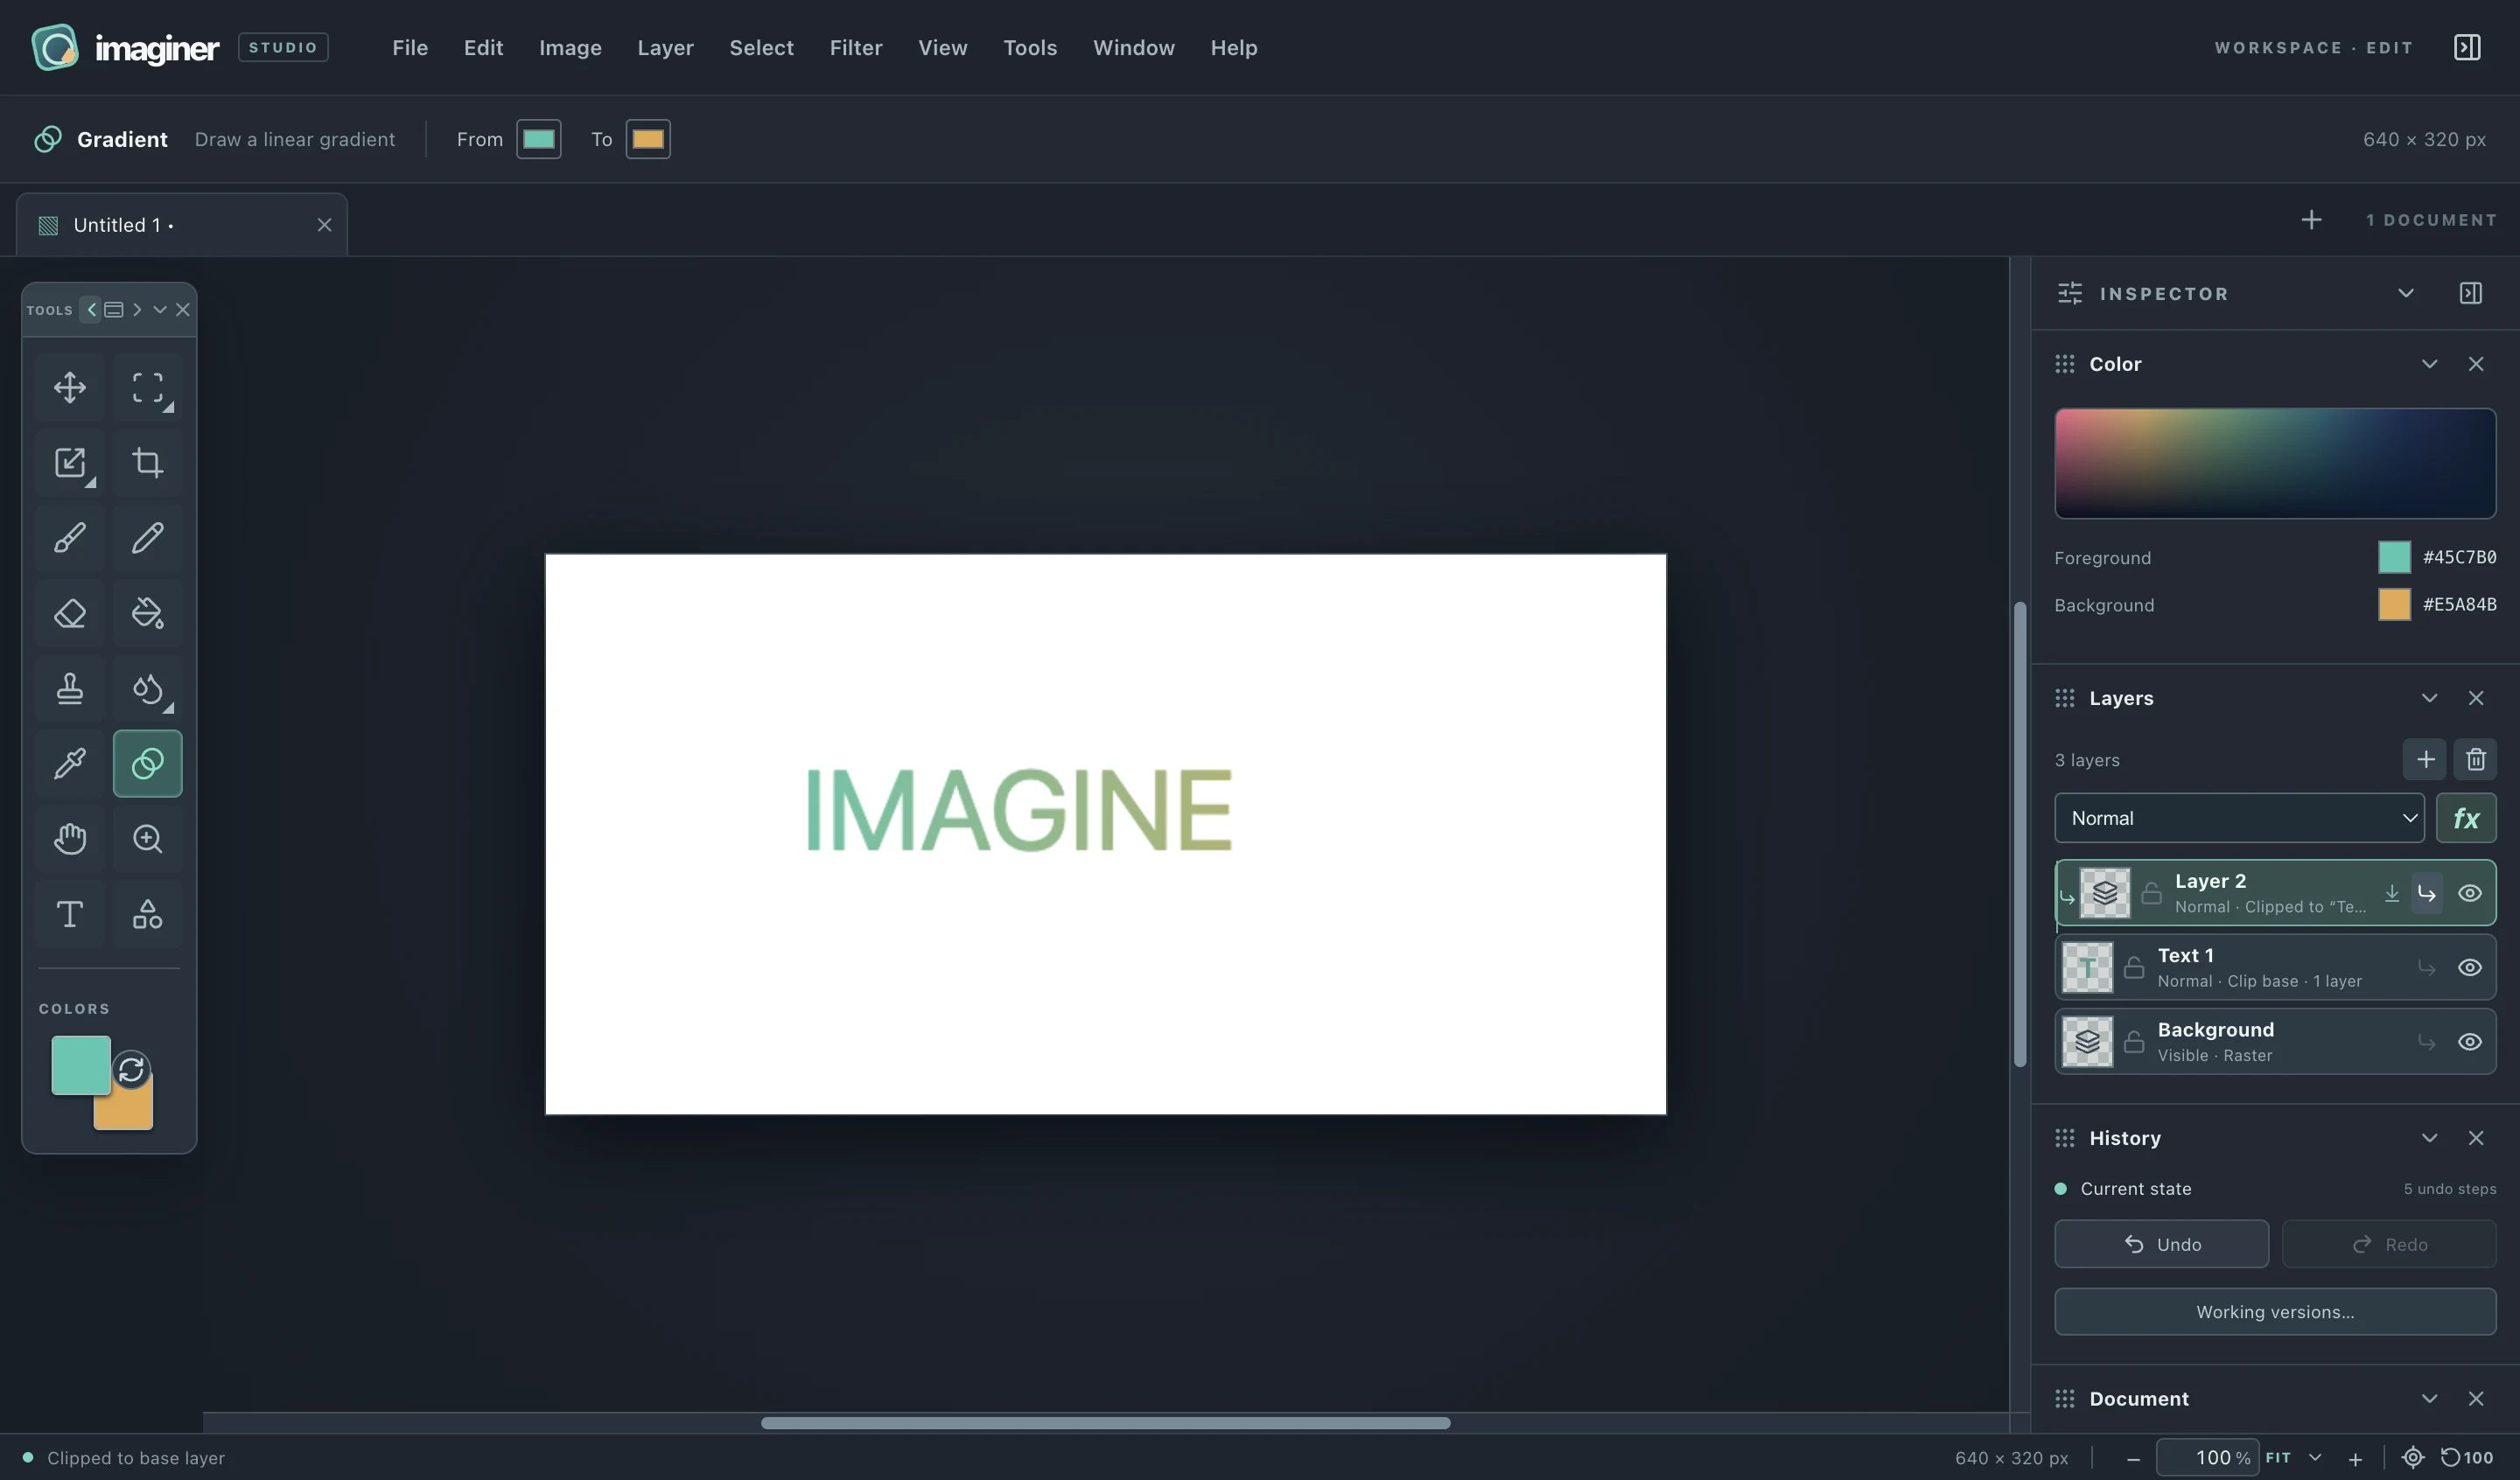
The arrow, named-base subtitle and base badge show the relationship.ACTUAL APP CAPTURETRY IT / GRADIENT TYPE
Keep type editable under a gradient.
Create a 640 × 320 px white canvas. Choose Text, 64 px, click near x 140 / y 110, type IMAGINE and click Done.
Add a raster layer above the text. Set foreground to #45c7b0 and background to #e5a84b. Choose Gradient and drag horizontally across the canvas.
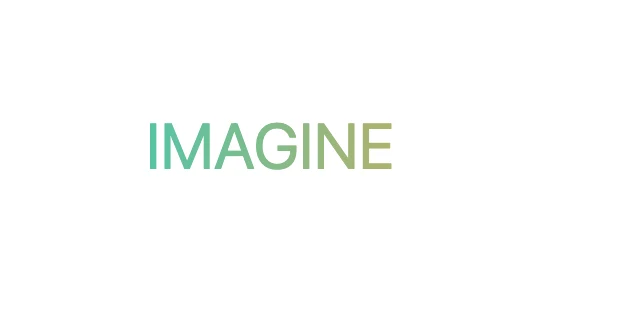
Select the upper layer and choose Layer → Create clipping mask, click its clipping button, or press Command/Ctrl + Alt + G. The gradient appears only inside the letters.
Click Select clipping base on the child row. Choose Text and double-click the object to change the letters. The gradient follows them without rasterization.
Add another layer above the child and clip it too for independent shading or highlights. Multiply, Screen, opacity and effects work inside the same base.
Actual canvas output / text and gradient remain separate layersACTUAL APP OUTPUT
Child rows are indented and name their base. Hover or focus highlights the stack without editing it. Hiding the base hides the stack; hiding a child affects only that child. Base Fill can fade its own color while keeping the clipping shape. Base opacity fades the completed stack once. Exterior base shadows and strokes do not enlarge its boundary; child effects stay inside it.
Move or transform the base and child independently. Release removes the selected relationship and higher children of that base. Deleting the base releases its children; inserting an ordinary layer in a run releases children above that insertion. A locked affected child blocks the whole operation. Undo restores the previous relationship and pixels together.
The Blending Preview checkbox previews the entire affected stack and skips draft rendering when disabled. Working versions retain both named relationships and editable objects. PNG bakes the visible composite; current PSD/ORA and format-plugin export reject clipping they cannot preserve.
Layer → Create/Release clipping mask / Select clipping base
Older masks keep their appearance.
Earlier Imaginer working versions used an upper layer’s transparency to hide the layer below. They now appear as Alpha mask for “target name”. Use/Release alpha mask retains that behavior: mask color and effects do not supply visible content, and hiding it disables masking. Alpha masks and clipping cannot share the same stack.
LAYER
Type now. Rasterize later.
Choose Text and click where the object should begin. Typing is focused immediately. If the active raster layer is empty and unlocked, it becomes a text object layer; otherwise Imaginer inserts a new one above it. Clicking elsewhere ends typing but keeps the text editable, including an empty object.
Double-click the object on the canvas to edit it again. You can change text, installed font, position, size and color while it remains an object. Drag anywhere within its bounds to move it; double-click those bounds to edit again. Its edit handle also moves it and can snap to guides. Transforms and layer effects preserve editability.
When pixel tools, filters or image resizing are needed on that layer, use Rasterize. This keeps the rendered pixels and discards the editable text source. Existing layer effects remain editable appearance settings.