
Drag a region
Press, drag and release to set opposite corners. The current selection is a canvas-wide region, independent of the active layer.
FEATURE GUIDE / SELECT & ALIGN
Use four marquee shapes and vivid guides to place selections precisely without painting guide lines into your image.
SELECT
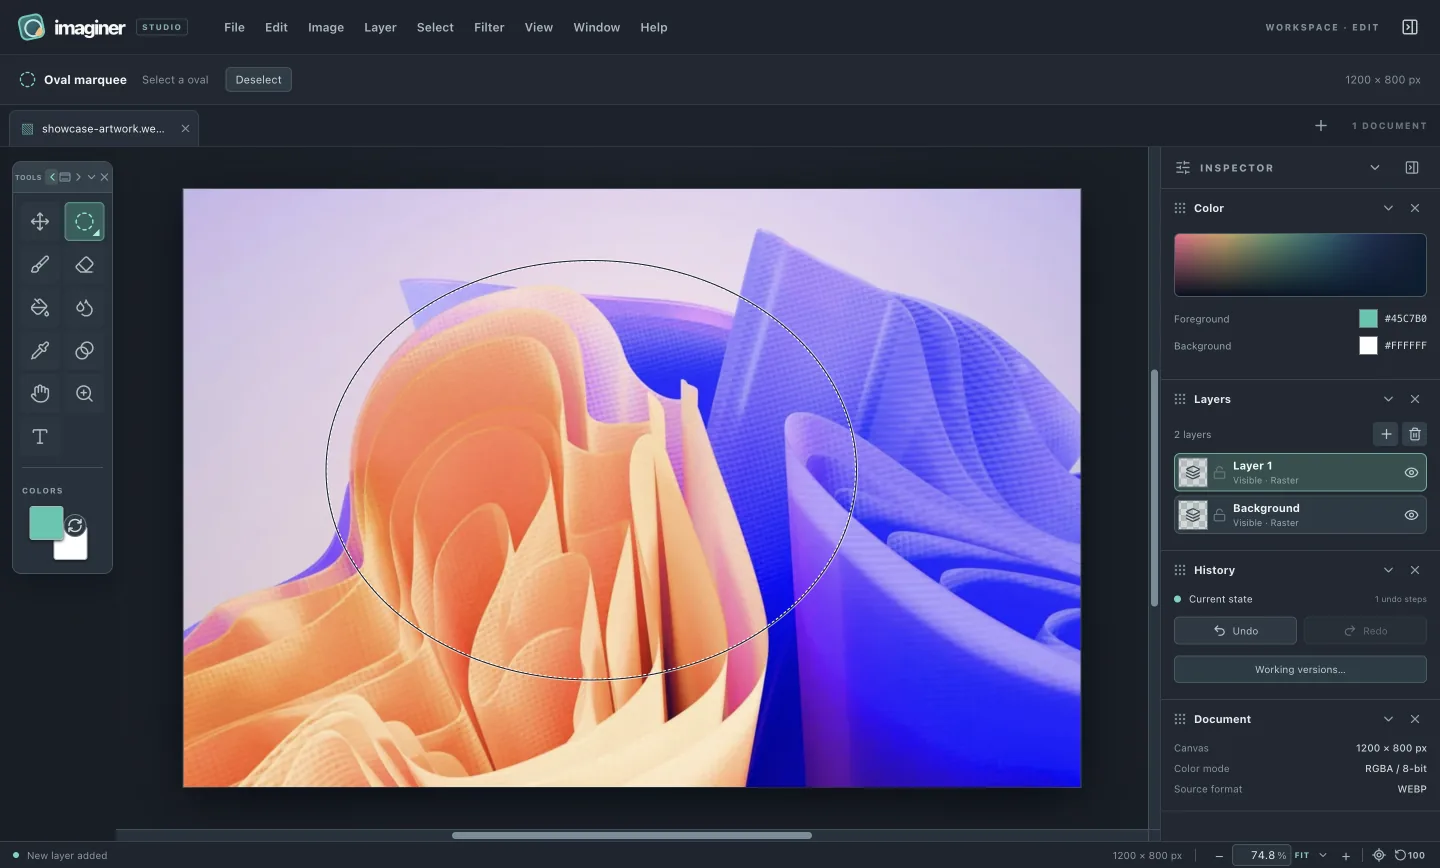
Press and hold the Marquee tool, or focus its toolbox button and press ArrowDown, to choose Rectangle, Oval, Polygon or Freehand. The chosen pictogram stays in the toolbox. Clicking outside the variant menu closes it without changing the current choice.
Press, drag and release to set opposite corners. The current selection is a canvas-wide region, independent of the active layer.
Click each corner. Double-click or press Enter to close. Backspace removes the last corner; Escape cancels.
Drag a contour. Distant endpoints close with a straight segment; endpoints close on both axes blend with a smooth Bézier closure.
Use Select → Deselect when you want operations to act without the current marquee.
VIEW
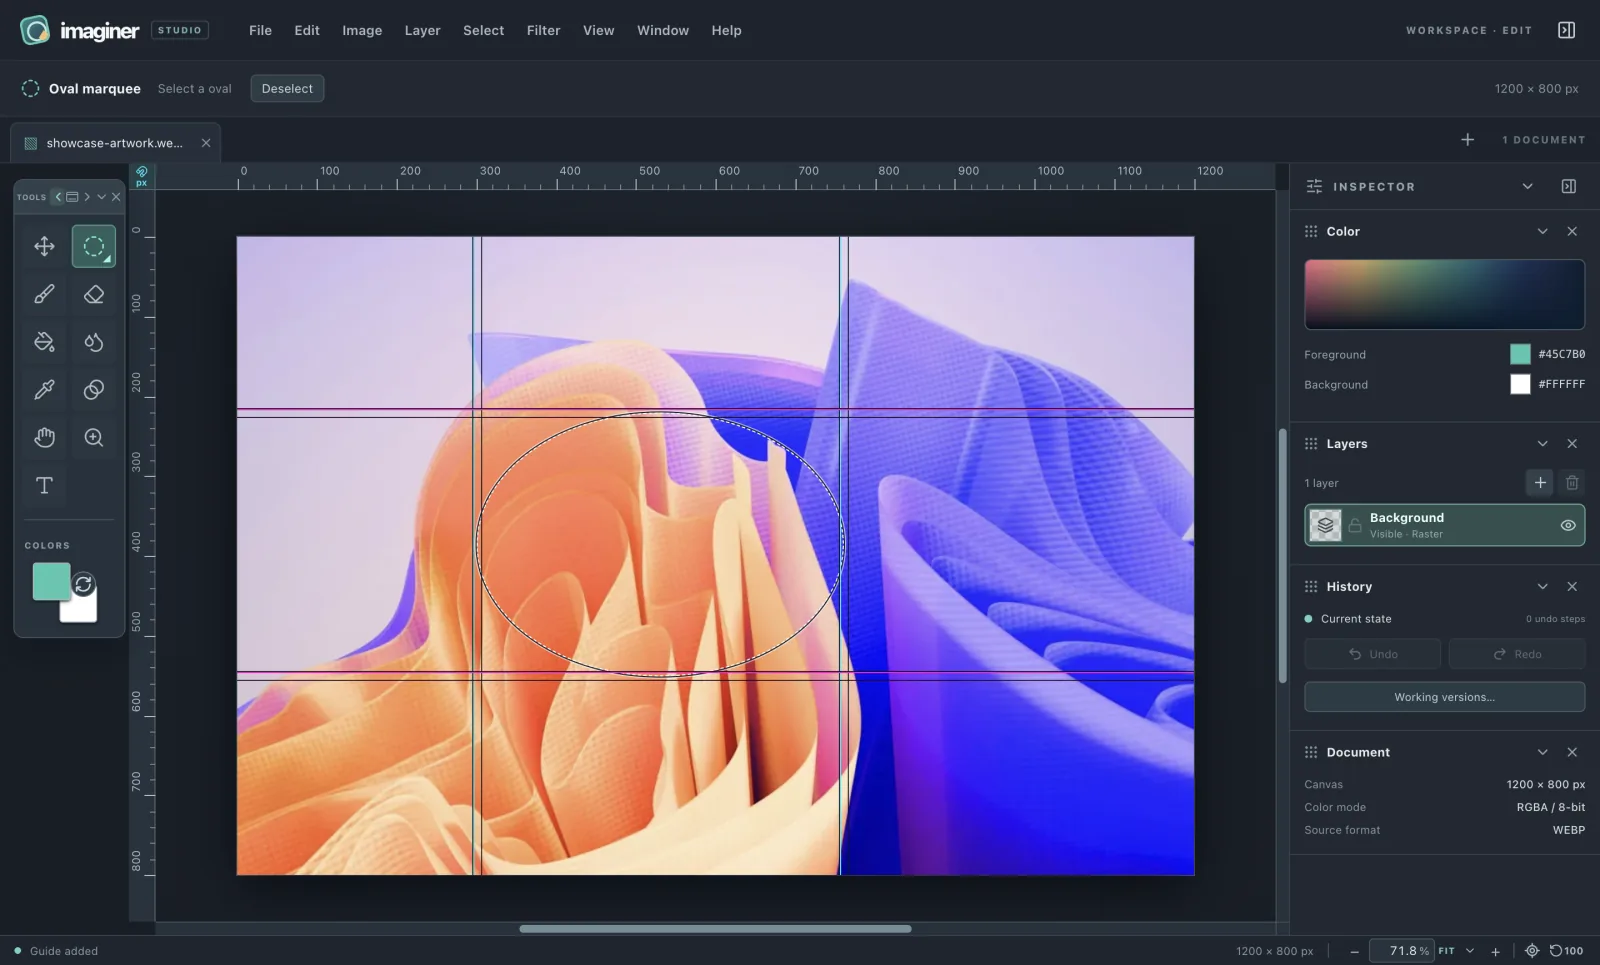
Show rulers, then drag from the top ruler for a full-width magenta horizontal guide or the left ruler for a full-height cyan vertical guide. You can also place a guide at an exact image-pixel coordinate from the View menu.
With a non-marquee tool selected, drag an existing guide to reposition it or drop it back into its source ruler to remove it. A focused guide also responds to Delete or Backspace; Arrow keys move it one pixel and Shift with Arrow keys moves it ten.
Distribute guides replaces guides on one axis with evenly spaced interior guides and preserves the other axis. Clear all guides removes both directions. At most 100 guides can exist per document.
VIEW
The magnet at the ruler corner switches snapping on or off. The same control lives in View → Snap to guides and the canvas context menu. Guides remain visible when snapping is off. Hold Alt during a gesture to bypass snapping temporarily.
Rectangle and oval start and end corners, polygon points, and freehand endpoints can snap to nearby guides. Freehand interior points keep the path you drew. The Move tool uses edges and centers of an active layer or selected patch; text placement and text objects can align too.
Moving, adding, removing or toggling guides does not change layers or the pixel undo stack. They are kept in local working versions and omitted from PNG export.