Soften a detail.
Drag across an edge to average neighboring color. Blur preserves the destination alpha, including transparent edges.
FEATURE GUIDE / PAINT & COLOR
Paint, clone pixels, smudge, sharpen and sample color with separate tool settings and an undoable live preview.
TOOLS
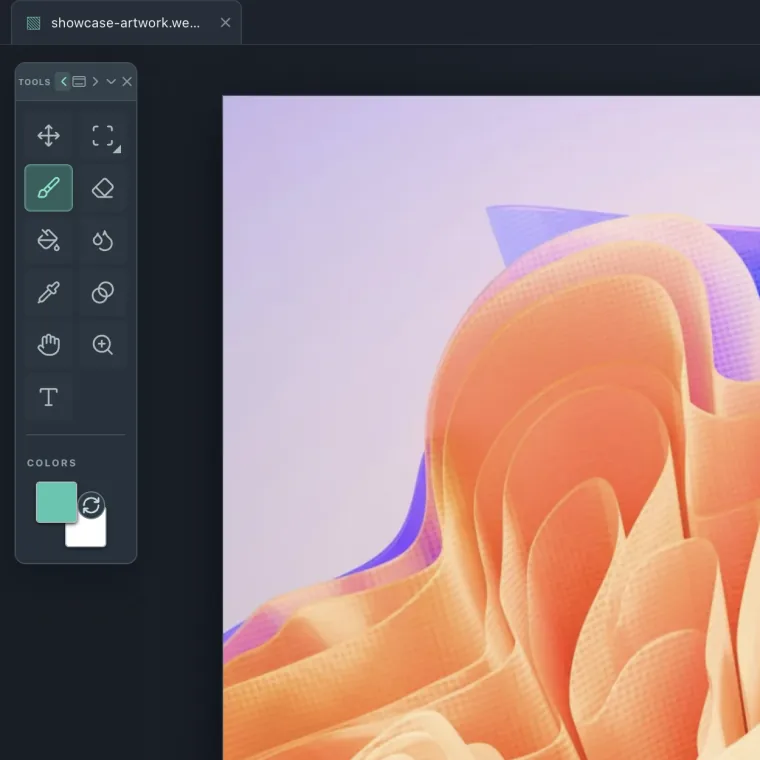
Brush, Pencil, Eraser and Clone Stamp remember their own size, opacity and applicable tip settings. Brush supports hardness and flow; Pencil gives crisp pixels with Auto Erase. Bucket, Gradient, Move, Hand and Zoom remain in the same toolbox.
Press < or > to change the selected tip by one pixel. Brush, Pencil, Eraser and Clone Stamp support 1–4096 px; Blur, Smudge and Sharpen support 1–100 px. Use the exact size field, logarithmic slider or Fine range. Opacity, hardness, flow and retouch strength pair sliders with exact number fields, while Auto Erase and aligned stamping appear as switches. Edit → Settings… → Keyboard changes these bindings. Swatch and option changes do not add image history.
Right-click or press and hold a grouped tool, or focus its button and press ArrowDown, to open the variants.
Choose an unlocked raster layer and select Clone Stamp, or press S. Hold Option/Alt and click the source. Release Option/Alt, move to the destination, then press and drag to stamp. You can move freely after placing the anchor; registration starts at the first ordinary press.
The source cross moves in lockstep with the brush once stamping starts. Aligned retains that offset across strokes. Turn it off to restart each stroke from the original source anchor. Size, hardness and opacity control the round tip. Sampling reads the active raster layer as it was at the start of the stroke, so overlapping source and destination do not feed freshly stamped pixels back into the copy.
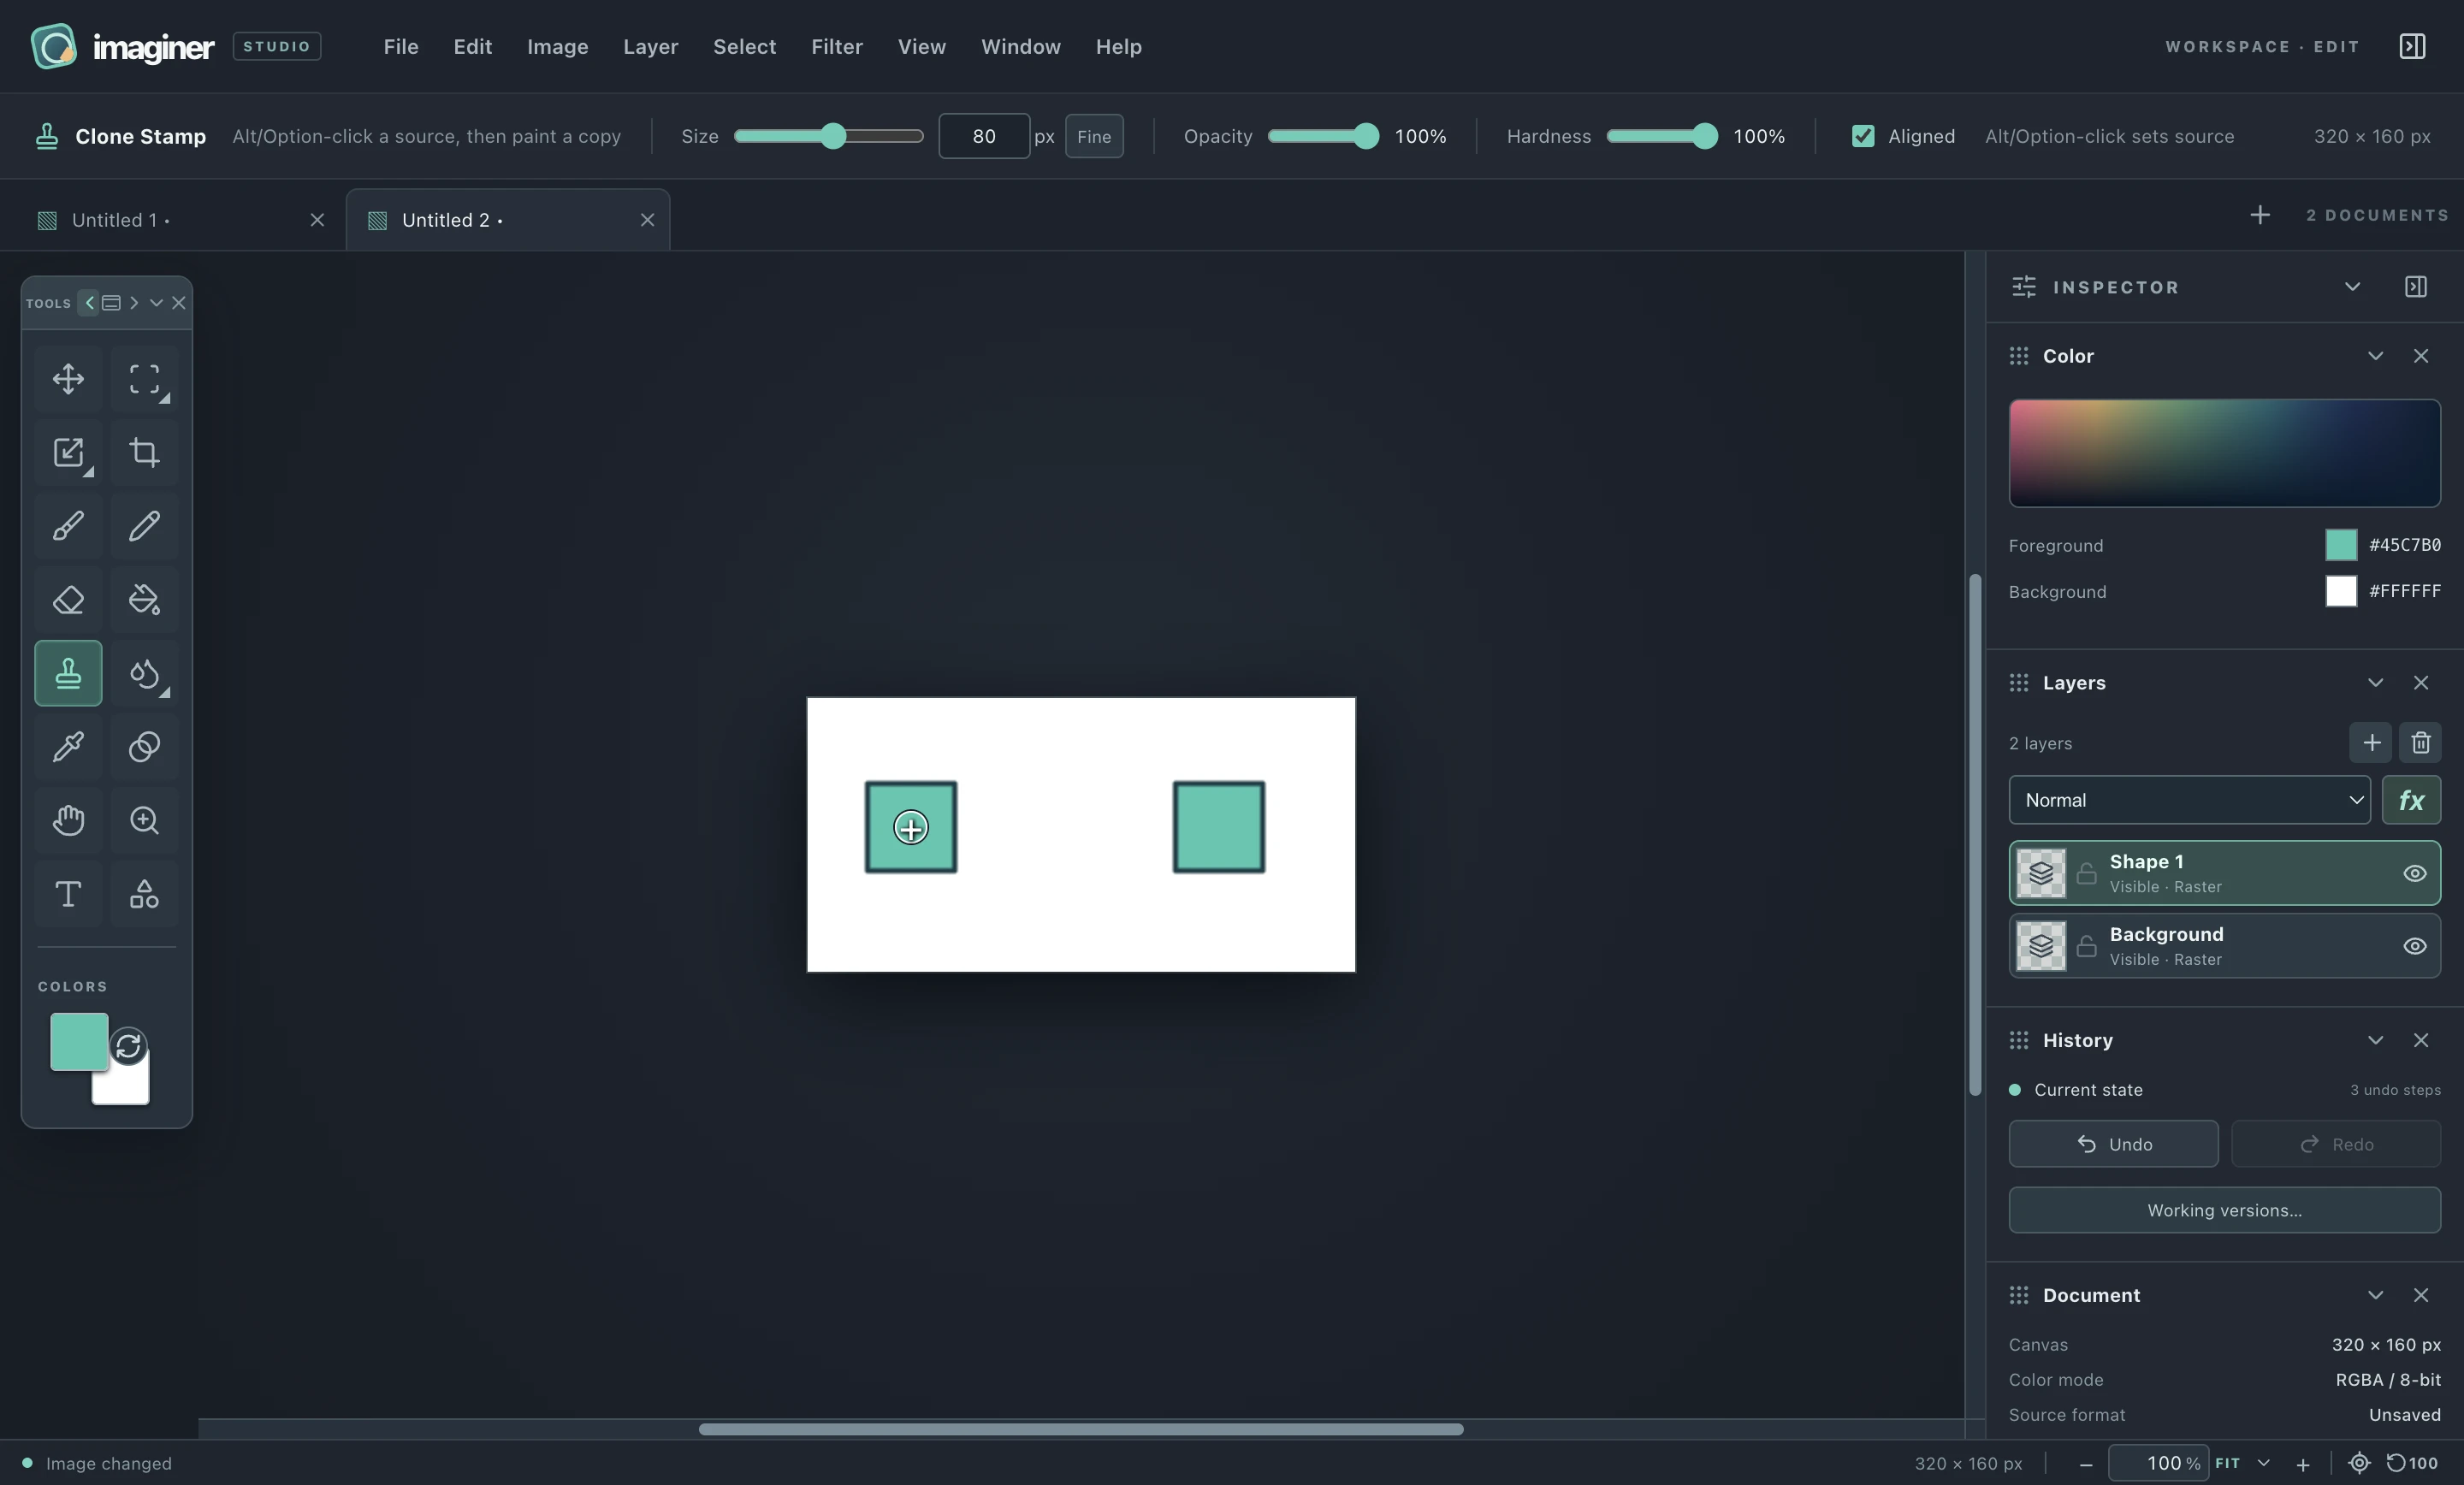

A selection clips destination pixels. Transparent source pixels and samples beyond the canvas leave the destination unchanged. Switching layers or changing canvas dimensions resets the source anchor; set it again on the new layer.
The Blur slot groups three tools. Right-click, hold or press ArrowDown on it to choose Blur, Smudge or Sharpen. Each remembers its own size, strength and hardness. Press R to return to Blur.
Drag across an edge to average neighboring color. Blur preserves the destination alpha, including transparent edges.
Press in a colored area and drag outward. Smudge carries color and alpha from the previous dab; a stationary click leaves pixels unchanged.
Drag across detail to increase local color contrast using an unsharp-mask calculation. Alpha stays unchanged. Reduce Strength for subtle passes.
These tools edit the active unlocked raster layer, with any selection clipping the destination. A held stroke previews on the canvas; release adds one undo step, and Escape cancels the unfinished stroke.
Choose Eyedropper, or press I. Click or drag to sample the foreground swatch. Hold Option/Alt to set the background swatch instead.
Choose Visible image to sample the displayed layers, including blending and effects, or Active layer for its raw rendered pixels. Point sampling reads one pixel; 3 × 3, 5 × 5 and 11 × 11 averages use alpha-weighted color around the pointer. A fully transparent sample leaves the swatch unchanged and reports that there is no color to pick.
Sampling does not change image pixels or history. Use the swatches with Brush, Pencil, Bucket, Gradient or shape colors.
FILTER
Choose an unlocked raster layer before applying Grayscale or Invert colors. The operation enters layer history, so Undo can restore the earlier pixels. Filters do not act on an editable text or vector object layer; rasterize that object first if a pixel filter is what you want.
Preview the result on the canvas, and use the layer visibility control to compare the composite with or without that layer.