FEATURE GUIDE / VECTOR SHAPES
Draw a shape.
Keep its geometry.
Add rectangles, ellipses, triangles, polygons, stars and lines as editable objects. Change their color, border and frame after drawing.
Draw an object.
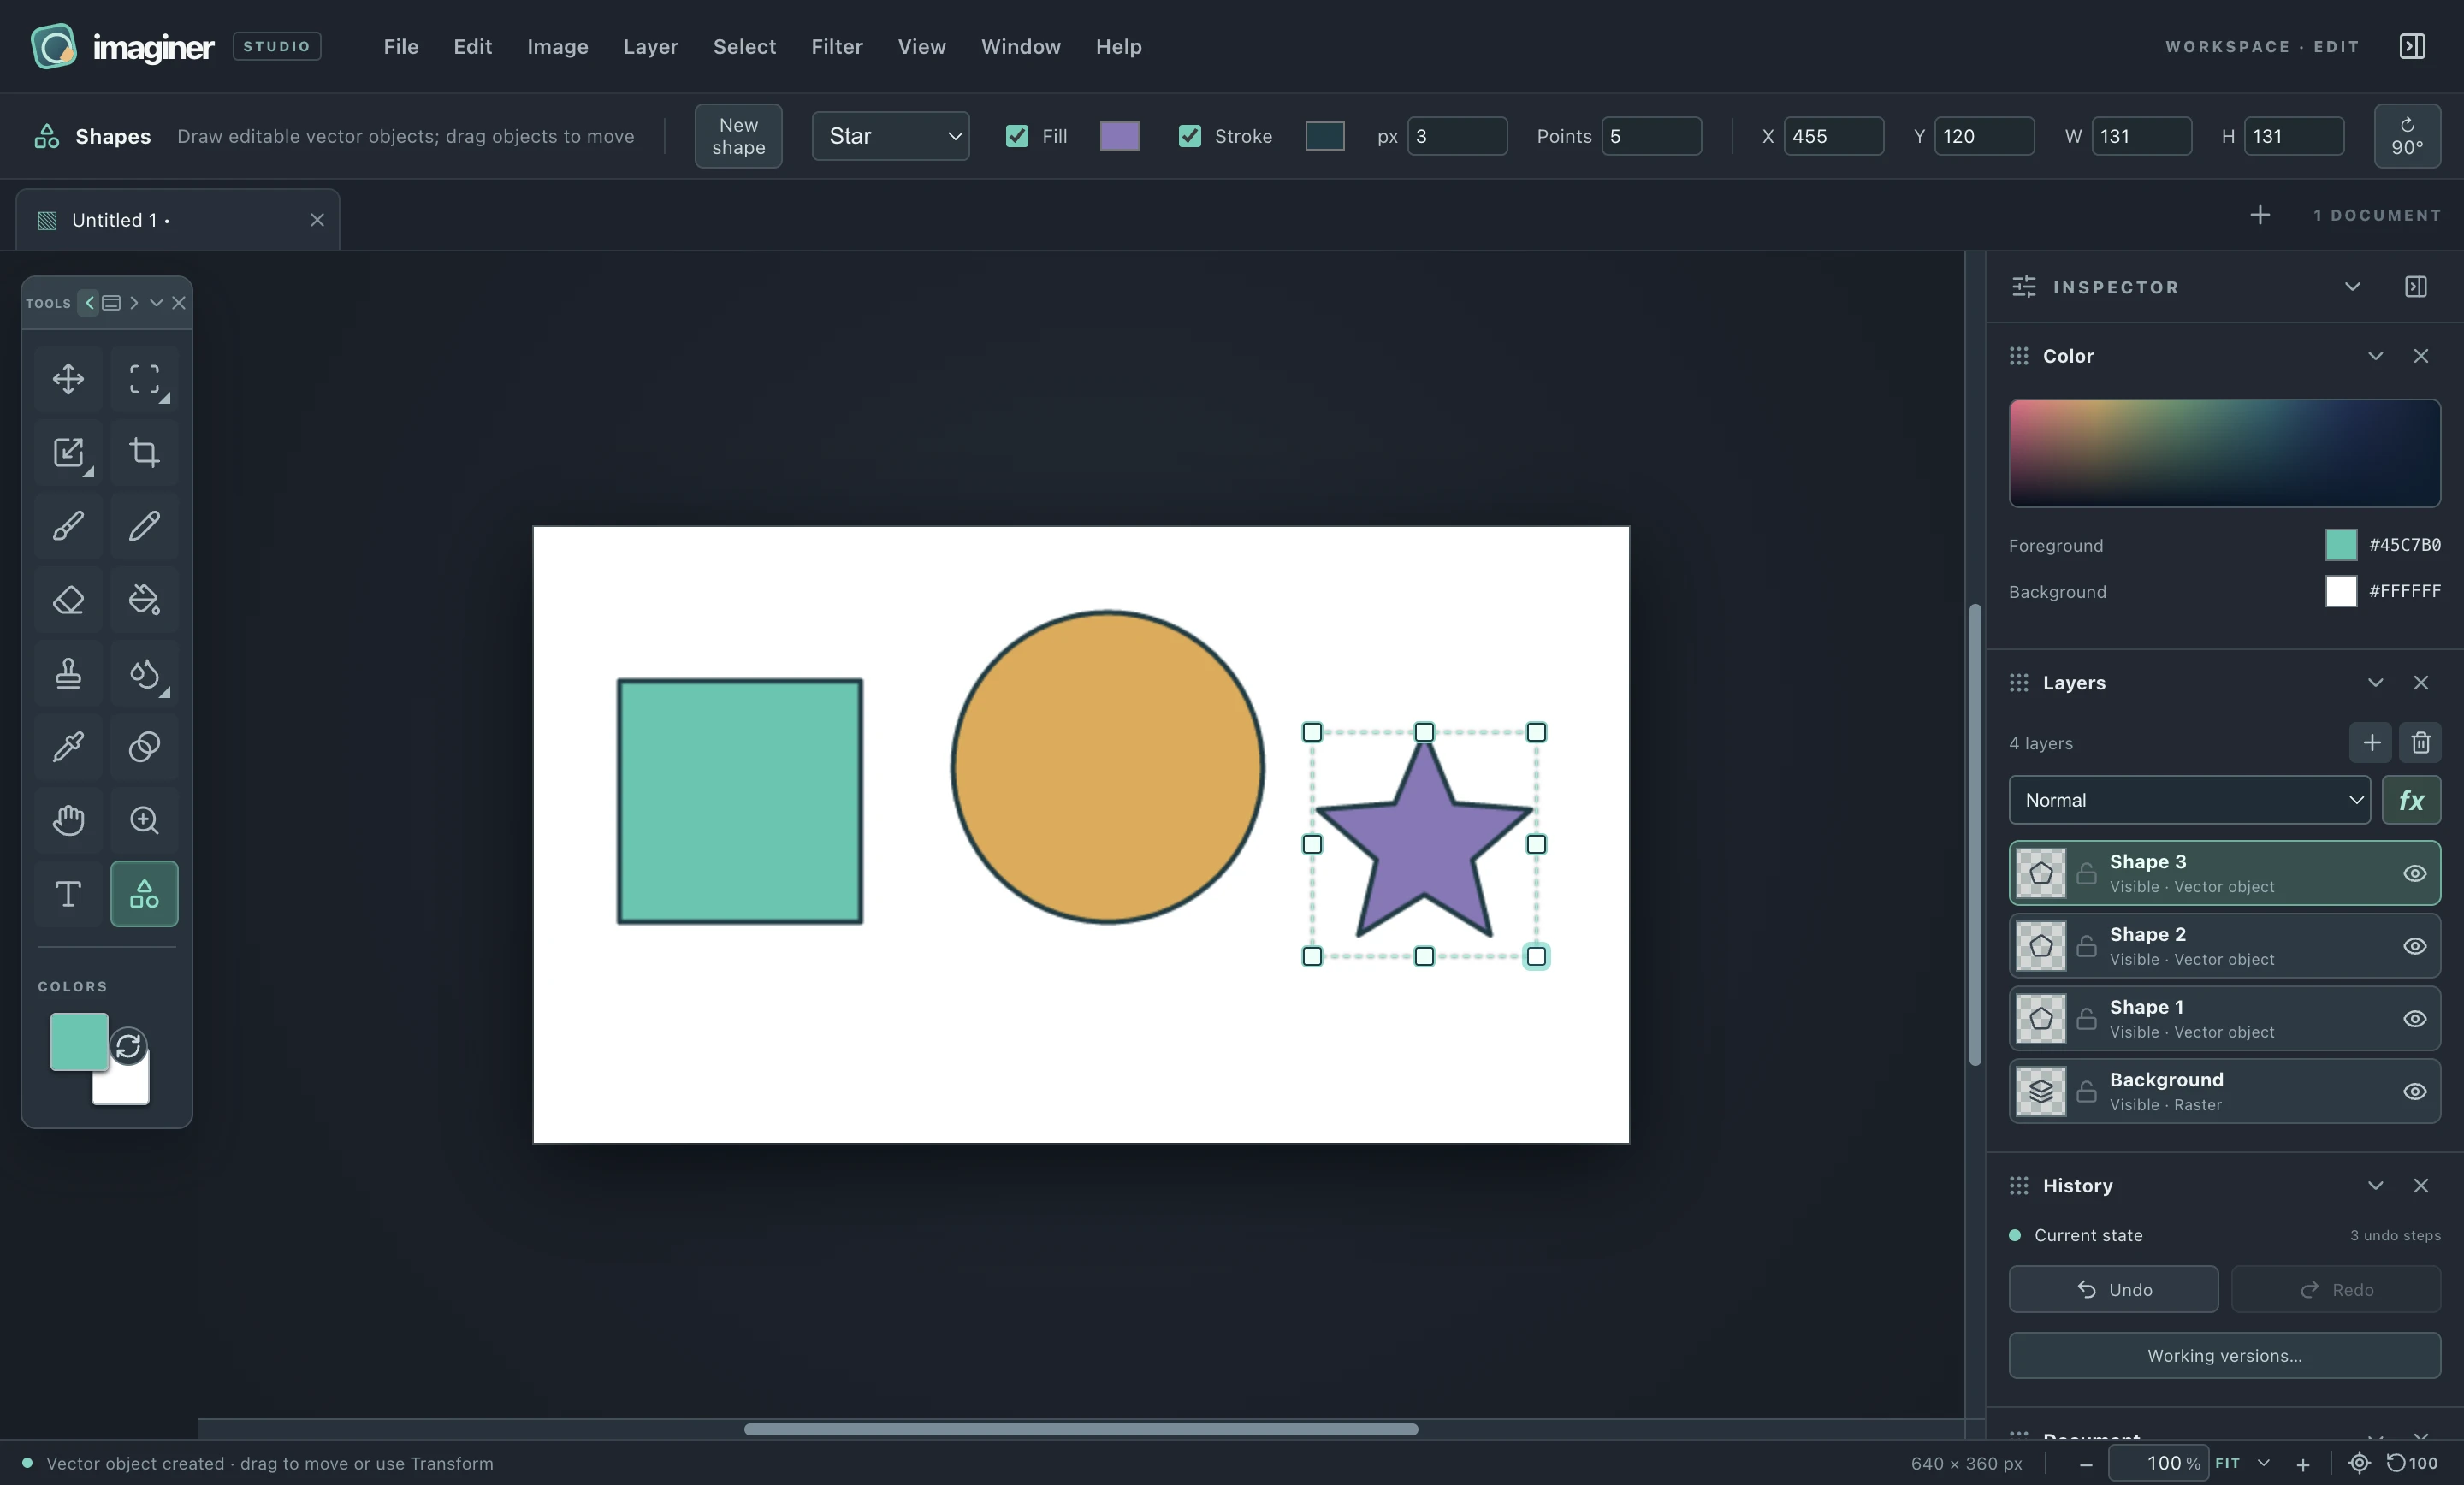
Choose Shapes in the toolbox, or press U. Pick a geometry, fill color, stroke color and border width. Drag on the canvas; the outline previews before release. Hold Shift for equal width and height. Escape cancels an unfinished shape without an undo step.
An empty, unlocked raster layer becomes the object layer. Otherwise, Imaginer adds a new object above the active layer. Each layer holds one shape, so you can reorder, hide, duplicate, lock and style each object separately. Selection does not clip vector creation.
To add another shape while an object is selected, click New shape in the tool options. Set its geometry and colors, then drag. This keeps the previous object unchanged.
Edit the geometry.
Select a vector object in Layers or click its interior with Shapes. Change Rectangle to Ellipse, adjust the polygon or star point count, toggle fill or stroke, or enter an exact border width. Drag inside the object to move it; use the frame handles to resize it. The X, Y, Width and Height fields provide exact values, and the rotate button turns the object 90 degrees.
Each completed edit creates an undo step. Shapes keep their primitive and transform geometry, so changing color or resizing regenerates the rendered pixels. A moved object can be saved to a working version immediately.
For Scale, Distort, Skew, Mesh Warp, flips or other angles, use the Transform tool. Apply its session with Enter; Escape restores its starting state. Layer Blending adds overlays, glows, shadows and lighting to the rendered shape.
The Shapes stroke follows the vector contour and is centered on it. The Blending Stroke effect follows rendered alpha and offers inside, center and outside placement. Keep the Shapes stroke at zero when you want only the layer effect.
Build three primitives.
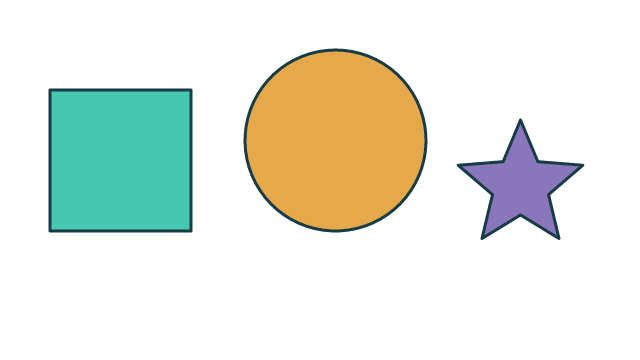
- Create a 640 × 360 white canvas. Choose Shapes, Rectangle, fill #45c7b0, stroke #183c45 and width 3 px. Drag a 141 × 141 rectangle near the left edge.
- Click New shape. Choose Ellipse and fill #e5a84b. Draw a 181 × 181 circle near the center.
- Click New shape again. Choose Star, five points and fill #8a76ba. Draw near the right edge.
- Select each object in Layers and edit its exact dimensions or colors. Undo reverses each edit while retaining the source geometry.
Choose the right copy.
Working versions retain source geometry, object transforms and styles during the open session, including shapes that extend beyond a cropped canvas. They are removed on normal document close or quit. PNG exports the visible pixels.
Before painting, clone stamping, retouching or applying a pixel filter on an object layer, choose Layer → Rasterize. Undo can restore the object in that session. PSD and OpenRaster currently require rasterized objects; they report an error instead of silently dropping geometry. Layer effects may require flattening too; see the style-export workflow.
Image and canvas resize require rasterized objects. Crop preserves editable shape and text sources. Rendering clips to the canvas and checks its work limits before changing the document; very large or complex shapes may need smaller bounds. A source accepts up to 64 transform steps; reaching that limit preserves the object and reports an error. Undo a step or duplicate and rasterize a copy when you need further pixel transforms.