
Multiply
Darkens overlapping pixels; useful for ink or texture over a lighter image.
FEATURE GUIDE / BLENDING-EFFECTS
Blend layers, style editable text, and test gradients, borders, shadows and lighting before you apply them.
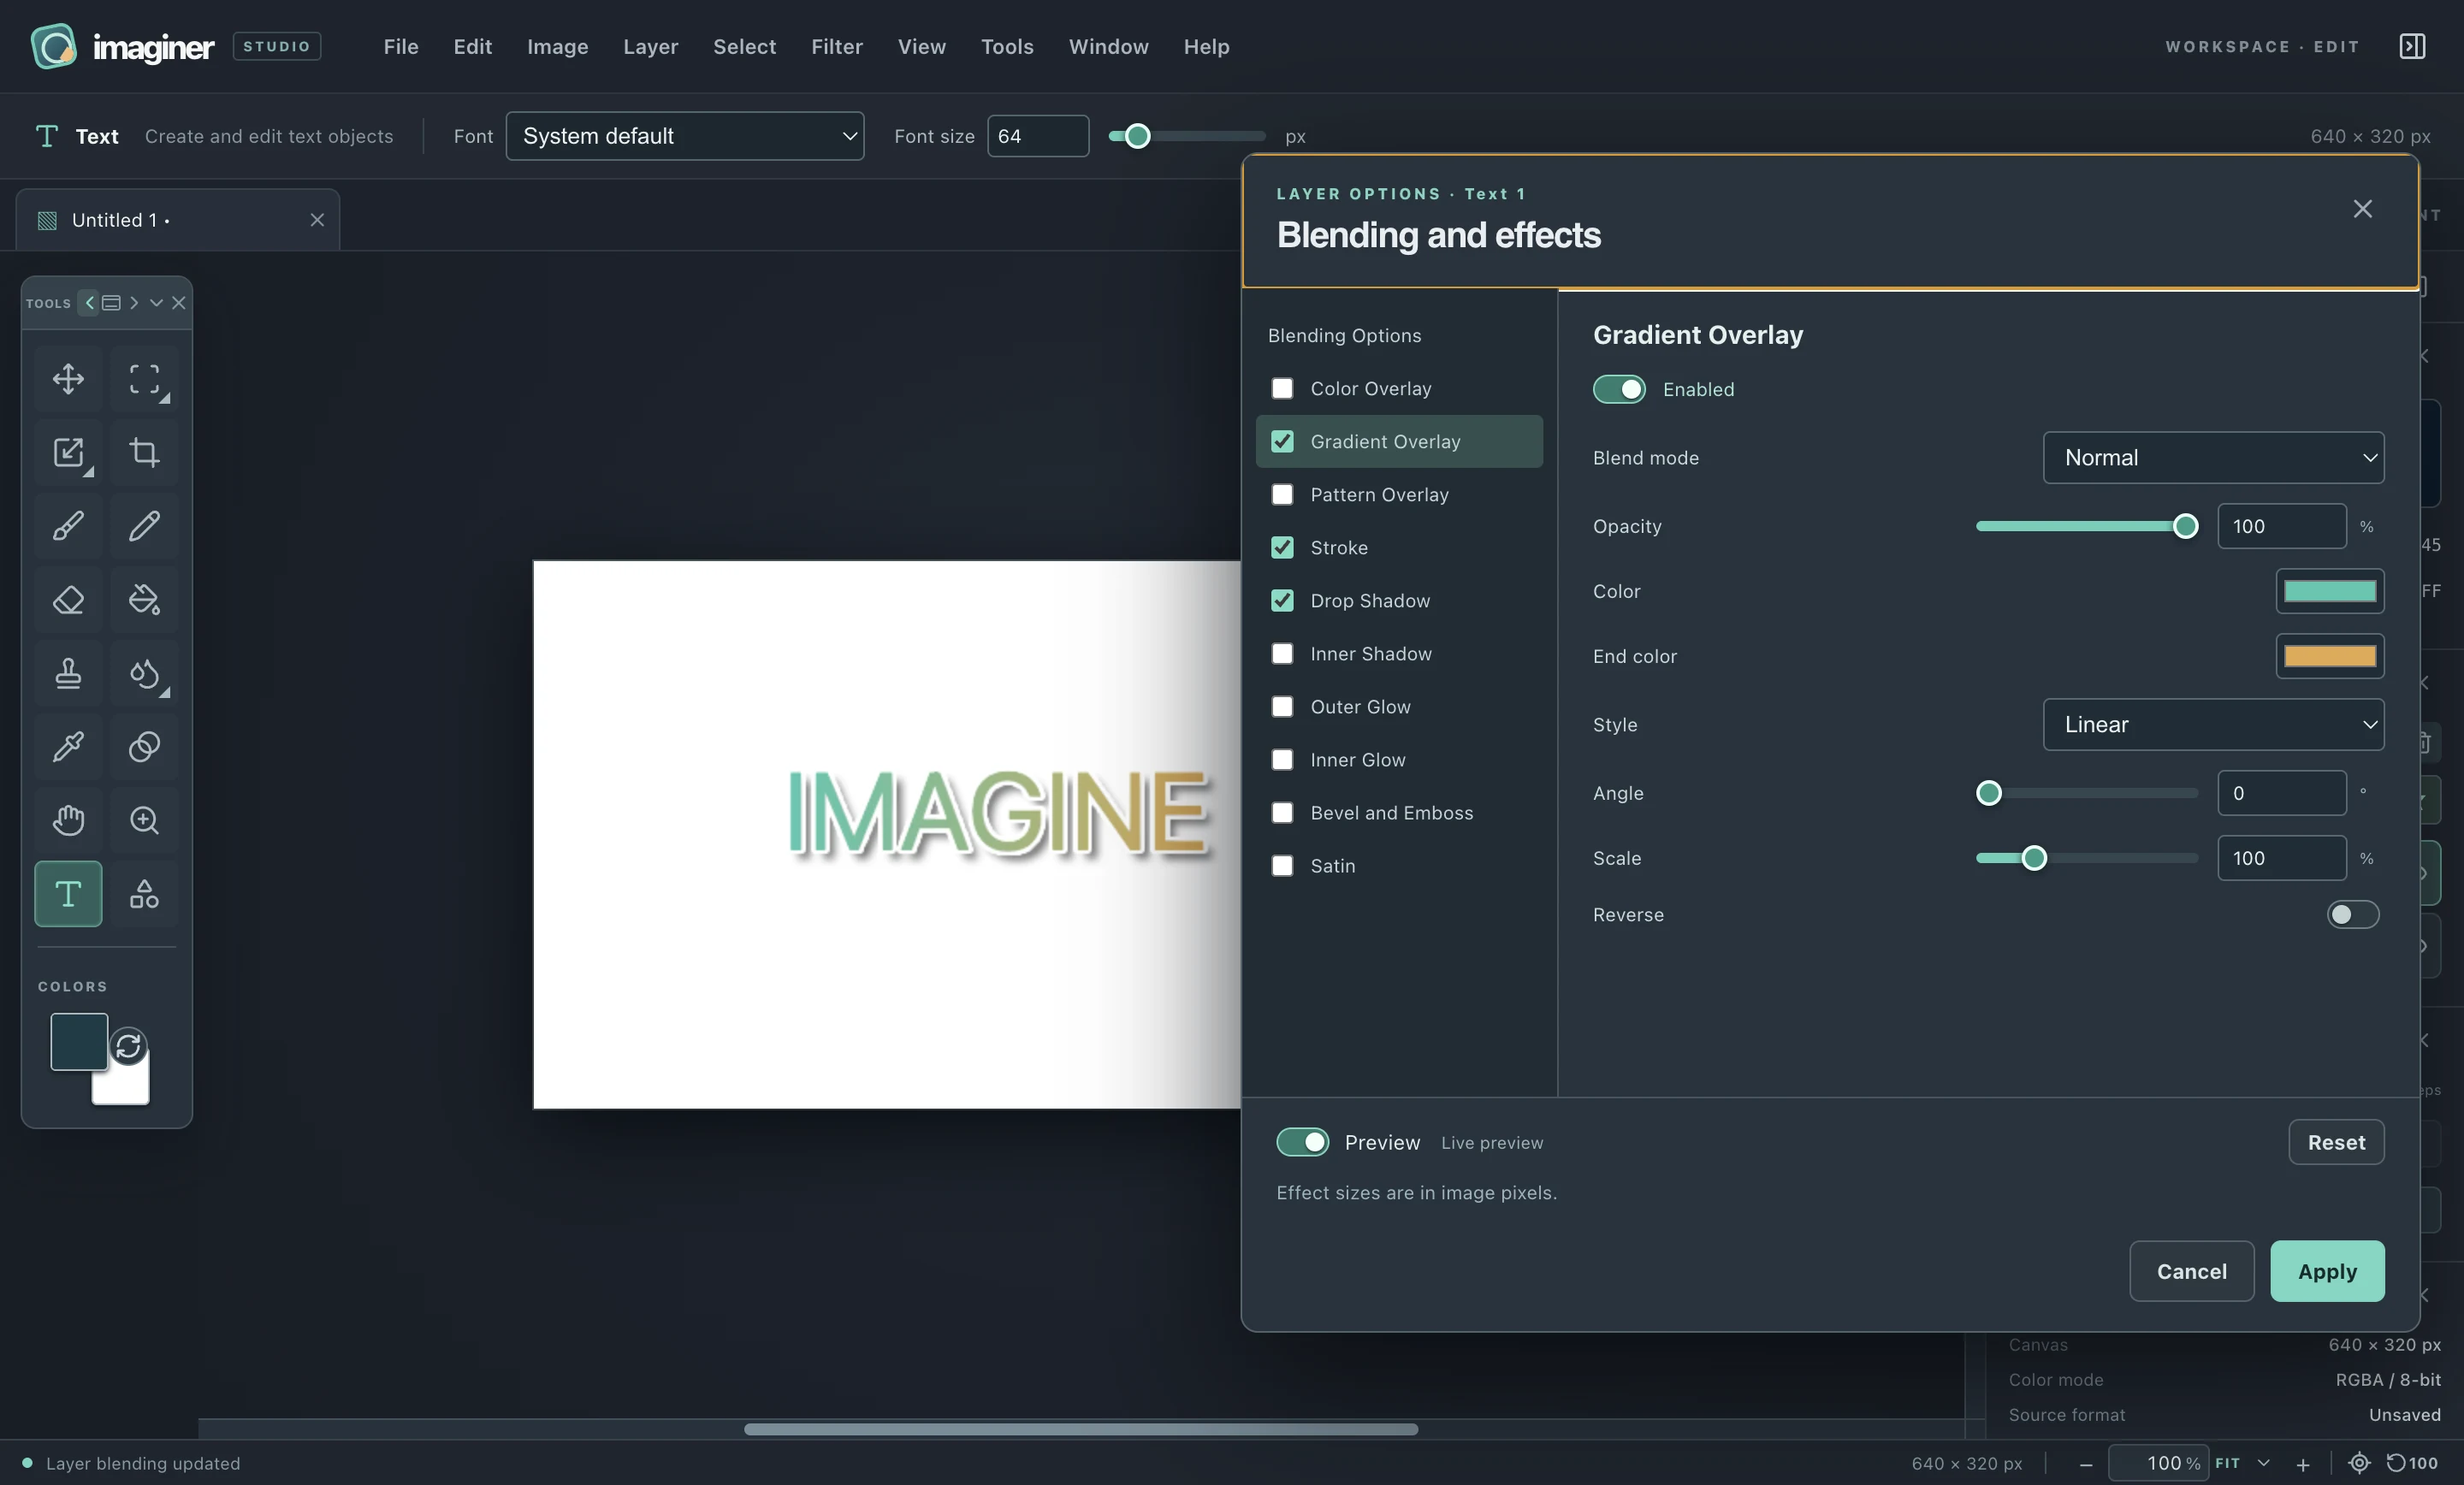
Select an unlocked raster or text layer. Double-click its preview square in Layers, click fx, or choose Layer → Blending…. Enable an effect with its checkbox on the left, then click its name to adjust it. A checked effect stays enabled when you visit another section.
The settings affect the whole layer even when a pixel selection is active. They preserve original pixels and editable text, and regenerate after painting, moving or transforming. Transparent, empty layers need visible content before an effect can appear.
Use the mode selector in Layers for a quick change, or Blending Options → Mode in the dialog. The 27 modes include Multiply, Screen, Overlay, Soft Light, Difference, Hue, Saturation, Color and Luminosity, plus darker, lighter and arithmetic variants.
Darkens overlapping pixels; useful for ink or texture over a lighter image.
Lightens overlaps; useful for highlights or a light texture over darker content.
Combine the colors with the brightness of the layers below. Lower layer opacity for a subtler result.
Exchange color components while keeping other properties of the backdrop.
Layer opacity fades the complete appearance. Fill opacity fades the original content while retaining effects. Each effect also has its own opacity and blend mode. Effect modes combine within the layer’s styled appearance; the layer mode then blends that result with the layers below. In a clipping stack, child settings act inside the named base; base opacity and blend mode apply once to the completed group.
| Effect | Use it for | Controls |
|---|---|---|
| Color Overlay | A single color across the original silhouette. | Color, opacity and blend mode. |
| Gradient Overlay | A transition across the layer’s pixel bounds. | Two colors; linear, radial, reflected, angle or diamond; angle, reverse and scale. |
| Pattern Overlay | A repeating texture inside the content. | Checkerboard, stripes or dots; two colors and cell size. |
| Stroke | An outline around the content. | Inside, center or outside; color and size. |
| Drop Shadow | An offset shadow behind the content. | Color, X/Y offsets, blur size and spread. |
| Inner Shadow | A shadow clipped inside the silhouette. | Color, X/Y offsets, blur size and spread. |
| Outer Glow | A soft halo outside the content. | Color, size and spread. |
| Inner Glow | A glow inside the content’s edges. | Color, size and spread. |
| Bevel and Emboss | Directional highlight and shadow at the edges. | Size, depth, up/down, angle, altitude, and separate highlight/shadow colors, opacity and modes. |
| Satin | An interior shade made from shifted silhouettes. | Color, size, distance, angle and invert. |
Sizes and offsets use image pixels, so zooming changes the view rather than the settings. Most sizes range from 0–256 px; shadow offsets range from −256 to 256 px. Gradient scale is 10–400%; pattern cells are 1–128 px. Angles use degrees. One instance of each effect can be enabled.
Every numeric blending and effect setting has a slider for quick, repeatable motion beside an exact value field. Switches show enabled effects and Preview at a glance. The Preview checkbox controls every setting in the dialog, including mode, opacity, fill and all effects. With it on, changes appear on the canvas after a short typing delay. With it off, the committed appearance returns immediately and draft effects are not rendered. The preference is remembered for the next dialog.
Invalid values or a work-limit error leave the dialog open without changing the document. Applying unchanged settings creates no extra undo step.
Start with a 640 × 320 px white canvas. Select Text, use 64 px, set the foreground color to #183c45, click near x 140, y 110, type IMAGINE, and click Done. These images were exported from that editable text layer in Imaginer.


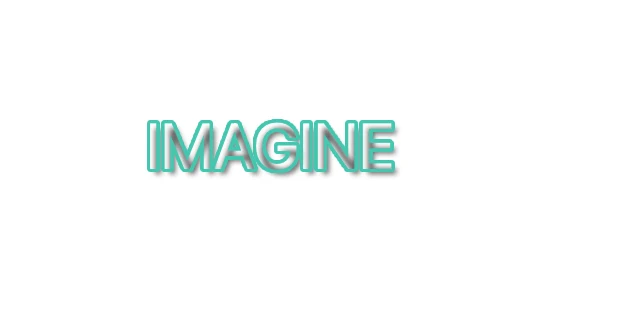

File → Save as PNG bakes the visible appearance into pixels. It does not keep editable text and vector objects, effect settings or the layer stack. File → Working versions… retains these while the document is open and can recover an interrupted session; normal close or quit deletes those temporary versions.
PSD and OpenRaster can save supported raster layers and blending, but currently reject effect settings or nondefault fill opacity that they cannot preserve. To export a styled document there, save a working version, choose Layer → Flatten, export, then Undo to restore the editable appearance during the session. Object rasterization keeps effects as editable layer settings, so it does not remove that export restriction.
Spatial effects use a cropped working region of at most 16 million pixels. Reduce the content bounds or disable spatial effects if that limit is reached. Arbitrary pattern assets, multiple instances, custom contours, Blend If, knockout and PSD style interchange are planned follow-up work.